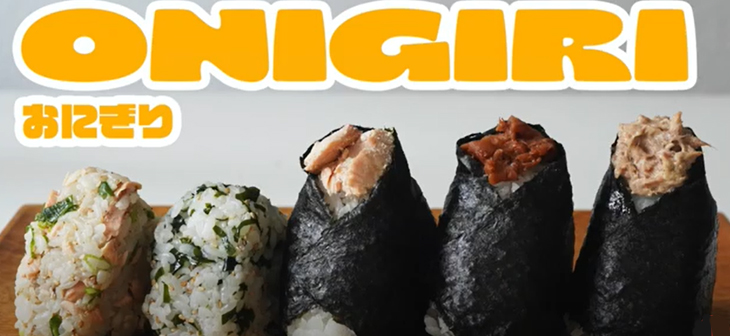
Today, I’d like to share with you how to make 5 different types of rice balls (called onigiri). Onigiri is the basic Japanese food and one of the most important menus in the Japanese diet.
It made from rice, seaweed and fillings. It’s usually shaped like a triangle, and wrapped in seaweed. We put the filling such as pickled plum, salted salmon or bonito flakes.
Wrapping rice in nori (seaweed) has two important advantages: the nutritional value of the nori itself and the fact that the rice grains do not stick to your hands.
There are also rice balls that are not covered with seaweed, and today I will share some of them with you.
How to cook rice
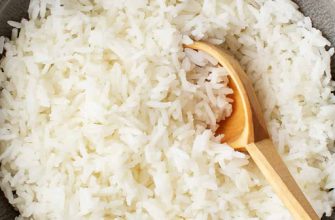
Be sure to choose Japanese rice. It’s a short grain rice and can be purchased at Asian supermarkets, Japanese supermarkets, and Amazon as well!!!. If you choose a different type of rice, it may not be sticky enough and your rice balls may not form a ball.
What’s inside in onigiri?
There is a variety of Onigiri filings and flavors. What is your favorite filling?
I used pickled plum, grilled salmon, tuna & mayonnaise, and wakame seaweed for this recipe.
| Pickled plum * |
梅干し |
| Salted / Grilled salmon * | 鮭(焼き鮭) |
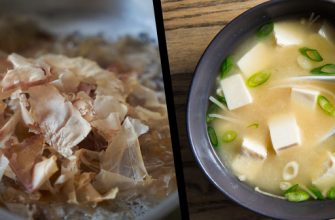
| Bonito flakes | おかか |
| Tuna & Mayonnaise * | ツナマヨネーズ |
| Cod roe | たらこ |
| Spicy cod roe | 明太子 |
| Salon roe | いくら |
| Kelp | 昆布 |
| Japanese rice seasoning | ふりかけ |
| Wakame seaweed * | わかめ |
| Japanese mustard plant | 高菜 |
| Tempura shrimp | 海老の天ぷら(天むす) |
Information
| PREP TIME: 35 mins | COOK TIME: 20 mins | RESTING TIME: 30 mins | TOTAL TIME: 1 hr 25 mins |
| COURSE: Main Course, Snack | CUISINE: Japanese |
Ingredients
- 2 cup rice (link to how to cook rice in a pot) 1 cup = 180ml
- 430 ml water 1.2 times of rice
Fillings
- pickled plum Umeboshi
- grilled salmon seasoned with salt
Tuna & Mayonnaise
- 70 g canned tuna
- 2 tbsp mayonnaise
- 1 pinch salt
- a little soy sauce
- a little black pepper
Wakame
- 2 bowl cooked rice
- 1 pinch dried wakame seaweed
- 1 tbsp white sesame seeds
- 2 pinch salt
- 1/2 tsp soy sauce
Grilled salmon & spring onion
- 2 bowl cooked rice
- 3 tbsp grilled salmon
- 1 spring onion, finely chopped
- 1 tbsp white sesame seeds
- 1 tsp sesame oil
- 2 pinch salt
- 1/2 tsp soy sauce
Instructions
- Cook the Japanese rice. Instructions are on a separate page. Please check the link above.
- Prepare the fillings.
- Remove the seeds and cut into bite-sized pieces.
- Season the salmon with salt (more is better) and grill it the way you like it.
- Drain off all the oil from the tuna and mix well with mayonnaise, salt, soy sauce, and black pepper.
- Soak dried wakame in water to soften, then chop into small pieces. Season rice with chopped wakame seaweed, white sesame seeds, salt, and soy sauce and mix well.
- Add grilled salmon, green onions, white sesame seeds, sesame oil, salt and soy sauce to rice and mix well.
- Wet your hands with water so that the rice won’t stick. Put some salt on both hands and spread it all over.
- Place the steamed rice on your hand (You can do it on a cutting board just like I did in my video. ) Put your favorite filling on the rice and push the filling into the rice lightly. (You don’t need to put filling for wakame and grilled salmon and spring onion onigiri)
- Hold the rice between your palms. Form the rice into the triangle by pressing lightly with your both palms. Be careful not to squeeze too tightly. Rotate and then squeeze. Please check out the video for more details.
- Wrap the rice ball with a strip of nori if you want.